
Is your garage door making strange noises, or maybe it’s not operating as smoothly as before? Don’t fret! With the right knowledge and a bit of effort, you can perform DIY maintenance on your garage door, saving time and money in the long run. In this guide, we’ll walk you through the essential steps to keep your garage door in top condition without the need for professional help. Let’s dive in!
Step 1: Visual Inspection
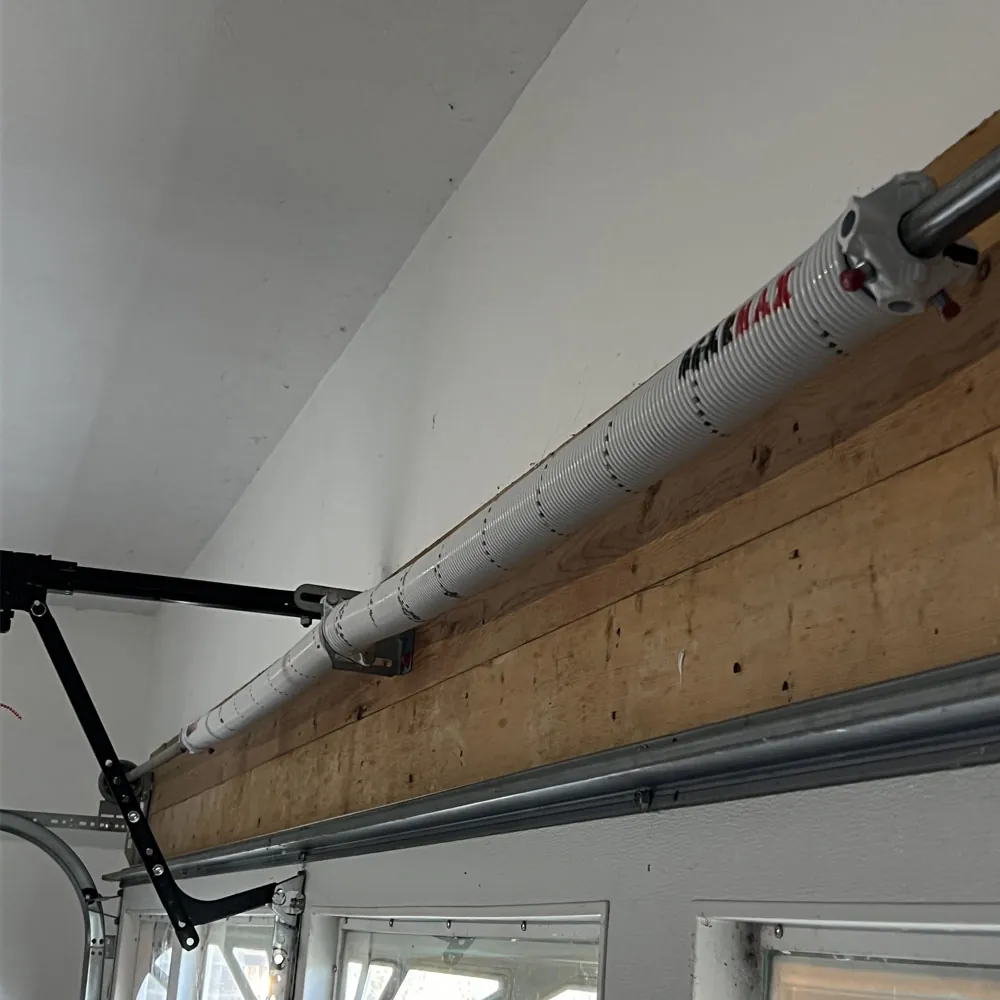
The first step in maintaining your garage door is a visual inspection. Look for any signs of wear and tear, such as rust, dents, or loose parts. Make sure to check the cables, springs, rollers, and tracks for any damage that may affect the door’s operation.
Step 2: Lubrication
Lubrication is key to ensuring your garage door operates smoothly. Use a silicone-based lubricant to grease the moving parts of the door, such as the rollers, hinges, and springs. Be careful not to over-lubricate, as it can attract dirt and debris, causing more harm than good.
Step 3: Tighten Hardware
Over time, the hardware of your garage door may become loose due to constant movement. Grab a wrench and check all the nuts and bolts, tightening any that have come loose. This simple step can prevent further damage and ensure the door operates securely.
Step 4: Test the Balance
A well-balanced garage door is essential for smooth operation. Disconnect the door from the opener and manually lift it halfway. If the door doesn’t stay in place, it might be off-balance, requiring adjustment by a professional.
Step 5: Clean the Tracks
Dirt and debris can accumulate in the tracks, causing the door to move unevenly. Use a damp cloth to clean the tracks thoroughly, removing any obstructions that could affect the door’s operation.
Step 6: Check the Auto-Reverse Feature
The auto-reverse feature is a safety mechanism that prevents the door from closing on objects or people. Test this feature by placing an object in the door’s path. If it doesn’t reverse upon contact, it may need adjustment.
By following these simple steps regularly, you can ensure your garage door remains in top condition, prolonging its lifespan and reducing the risk of unexpected malfunctions. Remember, regular maintenance is key to preventing costly repairs down the line.
Now that you have the knowledge and confidence to tackle garage door maintenance on your own, why wait? Take charge of your home’s upkeep and keep your garage door functioning smoothly for years to come.
Whether you’re a new homeowner or a seasoned DIY enthusiast, maintaining your garage door is a rewarding task that enhances the safety and efficiency of your home. By following these simple steps, you can take control of this essential aspect of your property maintenance, saving time and money in the process.
So roll up your sleeves, grab your tools, and show your garage door some love with these DIY maintenance tips!